Lenses for Travel Photography: Building a Kit That Fits
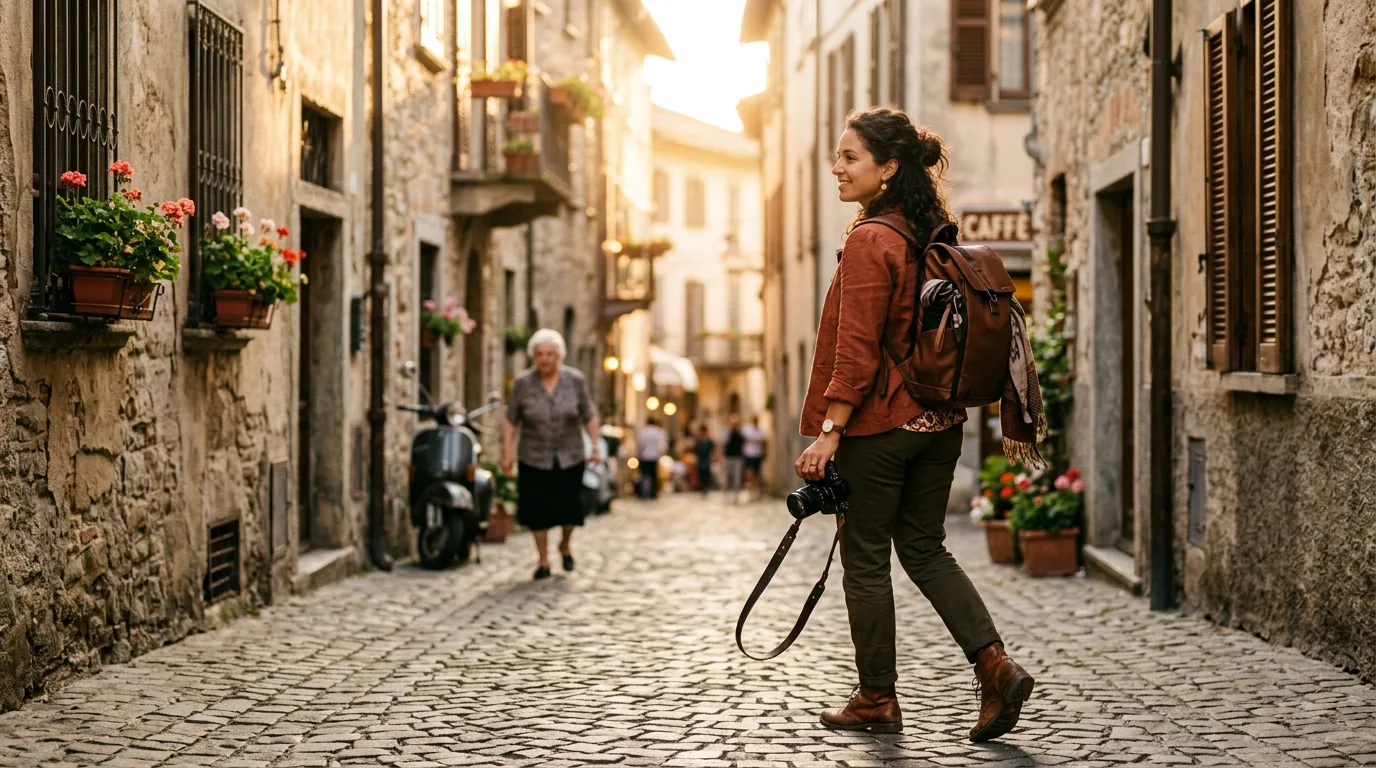
Every lens you pack is a bet.
You are betting that at some point during the trip, a scene will appear that only that focal length can capture — and that the shot will be good enough to justify the weight on your shoulder for every other hour of walking. Most photographers lose this bet badly. They carry three or four lenses, swap between them constantly, miss fleeting moments during transitions, and come home with a sore back and a memory card that could have been filled with one well-chosen zoom.
We have spent years analyzing how working travel photographers build their kits — not the aspirational "bring everything" packing lists, but the actual bags they carry through 14-hour shooting days in Kyoto, Marrakech, and Patagonia. The patterns are consistent. Weight discipline matters more than focal length coverage. One great lens outperforms three mediocre ones. And the best travel kit is the one you never think about, because it disappears into the work.

The Weight Budget: Your Real Constraint
Forget focal length range for a moment. The first question for any travel lens kit is weight. A kit that weighs more than 2 kg (body plus lenses) becomes a burden after four hours of walking. By hour six, you start leaving it at the hotel. By day three, you resent it.
Professional travel photographers typically work within a 1.5-2.5 kg total budget for body and glass.
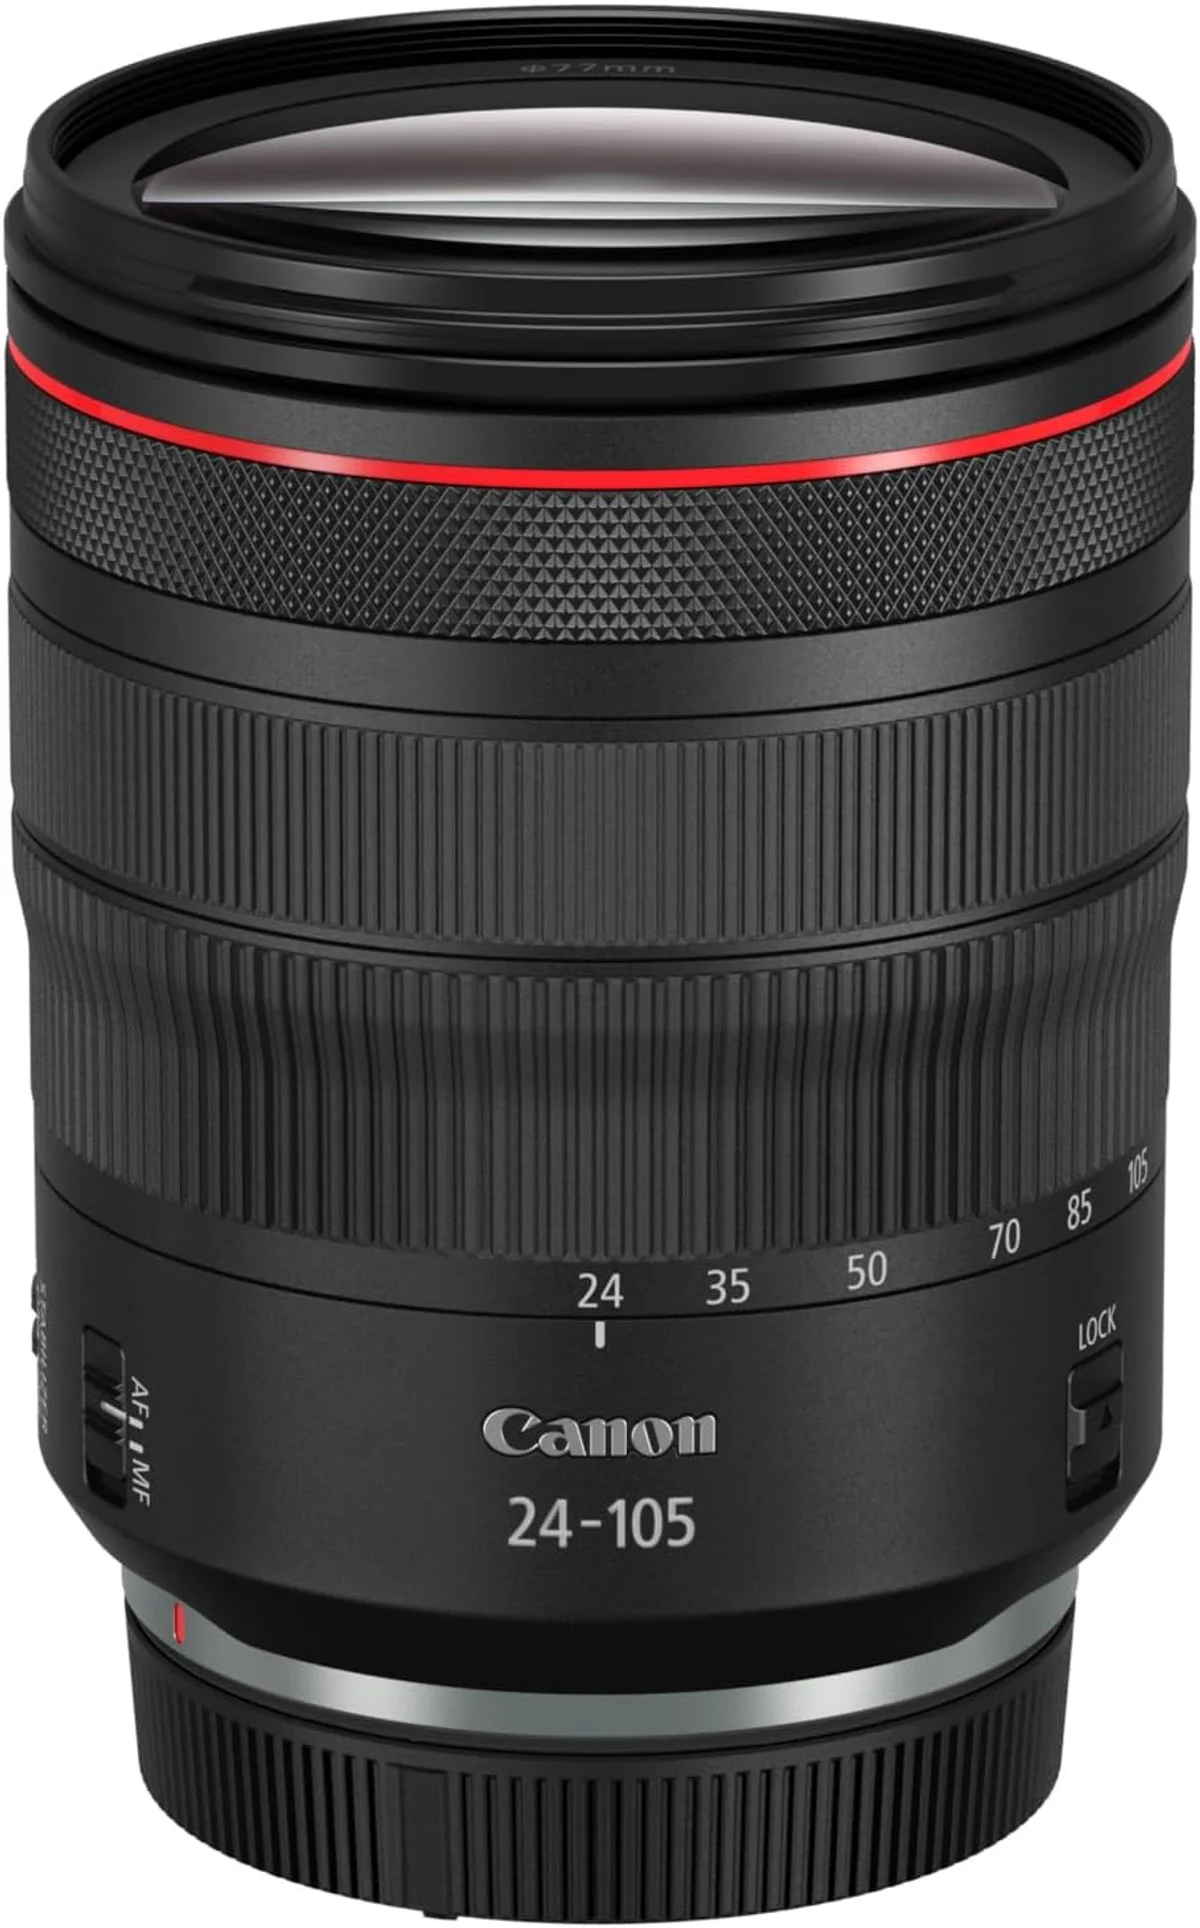
That budget determines everything: mount system, zoom versus prime, how many lenses fit. A mirrorless body weighing 600-700g leaves roughly 800g-1.8 kg for lenses. A single pro-grade standard zoom like the Canon RF 24-105mm f/4L comes in at 700g — already consuming nearly half the upper limit. Two lenses of that class and you are approaching the weight where comfort disappears.
The weight constraint is not vanity. It is practical risk management. A heavy kit causes fatigue. Fatigue causes slower reactions. Slower reactions mean missed shots. And a heavy bag is also a theft target in crowded markets and transit hubs. The lightest bag that covers your needs is the safest and most productive bag.
The One-Lens Travel Kit
One lens. No swaps. No dust on the sensor. No fumbling in a bag while a street performer finishes their act. The single-lens kit is the fastest, lightest, and most reliable option for travel — and for 80% of travelers, it is genuinely the right answer.
The ideal single lens for travel is a standard zoom in the 24-105mm range.
That focal spread covers wide-angle architecture at 24mm, environmental portraits at 50mm, and compressed street scenes or distant details at 105mm. The f/4 aperture on most 24-105mm zooms is fast enough for daylight shooting and adequate for golden hour with stabilization engaged. You sacrifice two things: low-light capability below f/4 and the extreme ends of the focal length range.
A 24-70mm f/2.8 is the alternative single-lens pick if your travel style leans toward indoor markets, evening street life, or dimly lit interiors. That extra stop of light at f/2.8 means usable handheld shots at ISO 3200 where an f/4 zoom would need ISO 6400. The cost is losing the 70-105mm reach — which matters more than you expect when you cannot physically get closer to your subject.
Why the 24-105mm f/4 Is the Ultimate Travel Zoom
The Canon RF 24-105mm f/4L IS USM sits at the center of our travel recommendation for one reason: the 4.3x zoom ratio. That multiplier — from 24mm to 105mm — covers a wider range than any competing standard zoom without resorting to the optical compromises of a superzoom. And it does so in a package that retains L-series sharpness from corner to corner.
Five stops of optical image stabilization make this lens a handheld machine.
We have seen sharp results at 105mm with shutter speeds as low as 1/8 second when braced against a doorframe or railing. At 24mm, you can hold steady exposures of a full second in favorable conditions. That stabilization range eliminates the tripod from most travel kits entirely — one less thing to carry, one less thing to set up, one less thing airport security flags for inspection.
The weather sealing matters as much as the optics. L-series build quality means rubber gaskets at every ingress point: the lens mount, the zoom ring, the focus ring, and the switch panel. Morning mist in Bali, sudden rain in London, Saharan dust on a desert tour — all manageable without the anxiety of an unsealed lens.
At a weight of 700g, it sits right at the threshold where a single-lens kit with a mirrorless body stays under 1.4 kg total. That is a kit you can carry on a neck strap all day without discomfort. Pair it with a lightweight camera bag or even a large jacket pocket, and your entire photography setup disappears into your travel wardrobe.
The Two-Lens Kit: Standard Zoom Plus a Fast Prime
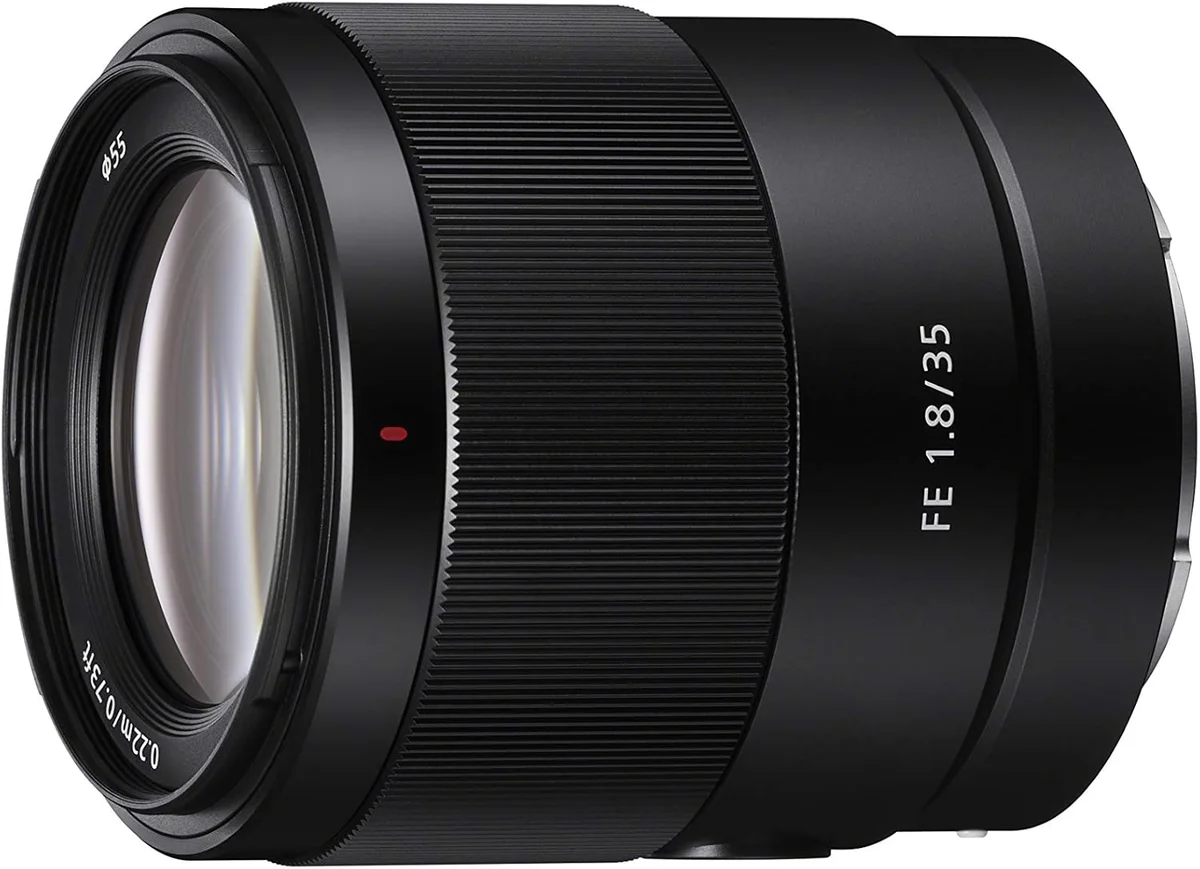
A second lens earns its place only if it opens capabilities the zoom cannot match. For travel, that almost always means a fast prime for low light. A 35mm f/1.4 or 50mm f/1.8 weighs between 160g and 400g and delivers two to three stops more light than an f/4 zoom. That difference transforms evening shooting: night markets, candlelit restaurants, blue-hour cityscapes handheld.
The fast prime also delivers shallow depth of field that no f/4 zoom can replicate. Portraits against blurred backgrounds of Venetian canals or Tokyo neon gain a three-dimensional quality that separates a travel snapshot from a portfolio-worthy image. At f/1.8 on a 50mm, background elements dissolve into smooth color washes. At f/4 on the same body, they remain recognizable and distracting.
Pick the prime focal length based on your shooting preference.
A 35mm matches a natural field of view and works well for street photography, interiors, and environmental portraiture. A 50mm is tighter, more deliberate, and better for isolating subjects in busy scenes. A 28mm is rare as a dedicated prime but excellent if you favor wide storytelling shots. We find 35mm is the most popular choice among travel photographers running a two-lens kit, but a 50mm f/1.8 weighs less and costs less — making it the stronger budget pick.
The two-lens kit introduces lens swaps, which introduces sensor dust risk. Plan your shooting day in blocks: zoom during daylight sightseeing, prime after sunset. Swap once, in a sheltered location, with the camera body pointed downward. Minimize transitions and you minimize the contamination window.
The Three-Lens Kit: Adding Reach or Width
Three lenses is the practical ceiling for carry-on travel photography. Beyond three, the bag weight crosses 3 kg, lens swaps become a logistics problem, and you spend more time managing gear than shooting. The third lens should fill a specific gap the two-lens kit cannot cover — and which gap depends on your destination.
For architecture, cathedrals, and sweeping vistas, the third lens is an ultra-wide: a 14-24mm zoom or a 16mm prime. Ultra-wides exaggerate perspective and capture entire building facades from street level. Inside Gaudi's Sagrada Familia or standing at the rim of the Grand Canyon, a 24mm wide end feels claustrophobic. The ultra-wide solves this, and a compact option like a 16mm f/2.8 pancake adds under 200g to your bag.
For wildlife encounters, safari trips, or destinations where subjects stay far away — the Colosseum from across the street, a temple across a river — the third lens is a telephoto.
A 70-200mm f/4 adds significant weight (around 700-900g), but it doubles your reach. Lighter alternatives exist: a 70-300mm variable aperture zoom at 500-600g, or a fixed 200mm prime if your system offers one. The telephoto is the hardest lens to justify on weight alone, and many travel photographers choose to crop a 105mm shot rather than carry extra glass.
Our recommendation: build a three-lens kit only when you know the destination demands it. Safari in Kenya? Bring the telephoto. Ten days in Barcelona? The ultra-wide earns its place. A general-purpose European city trip? The two-lens kit covers everything you need.
Weather Sealing: Not Optional for Serious Travel
Unsealed lenses and unpredictable weather are a dangerous combination. A single rain shower in Southeast Asia can deposit moisture inside an unsealed zoom's barrel, fogging internal elements for hours until the lens equilibrates. Salt spray on a coastal boat tour corrodes unprotected lens contacts. Fine volcanic dust — common in Iceland, Indonesia, and Central America — infiltrates zoom mechanisms and grinds against glass.
Weather sealing does not make a lens waterproof. It makes a lens resistant. Rubber gaskets at the mount, focus ring, and zoom ring block the most common ingress routes for moisture and particulates. The protection is passive — no maintenance required — and it works in both directions, keeping internal lubricants from leaking in extreme heat.
Every major manufacturer offers sealed lenses at the mid-range and premium tiers. Canon's L-series, Nikon's S-line, and Sony's G Master lenses all include sealing as standard. Sigma and Tamron seal their higher-end zooms as well. Budget primes and kit zooms rarely include sealing — which is one of the strongest arguments for upgrading to professional glass before a major trip.
A UV or clear protective filter on the front element adds a sacrificial layer against sea spray and blowing sand. Some photographers resist filters on optical purity grounds, but a multi-coated protective filter from a reputable manufacturer causes no measurable image degradation and can save a front element that costs ten times more to replace.
Airline Carry-On Restrictions and Packing Strategy
Camera gear belongs in your carry-on. Always. Checked luggage gets thrown, dropped, lost, and opened by strangers with access to zip ties. No amount of padding protects a lens from a 2-meter drop onto a concrete carousel belt, and insurance claims for stolen checked equipment are notoriously difficult to resolve.
Most airlines allow one carry-on bag (typically 55 x 40 x 20 cm) plus one personal item. A compact camera backpack fits the carry-on slot. A camera insert inside a normal daypack does the same while looking less like a gear bag — an advantage in cities where camera bags attract attention.
For strict carry-on enforcement — common on budget carriers in Europe and Asia — total carry-on weight limits of 7-10 kg apply. A full-frame mirrorless body with two lenses, a charger, spare batteries, and memory cards fits within 3-4 kg of gear. That leaves 3-6 kg for clothing and personal items in the same bag, or you split gear into the personal item and clothing into the carry-on.
Pro tip: wear your heaviest camera body on a neck strap through the gate. Worn items do not count toward carry-on weight on any major airline. Attach the heaviest lens to the body. This single trick can shift 1.5-2 kg off your bag weight at the boarding gate scale.
Lithium-ion batteries must travel in carry-on luggage — most airlines prohibit them in checked bags entirely. This applies to camera batteries, grip batteries, and external charger packs. Pack them in a small pouch where screening agents can see them clearly if they flag your bag.
Sensor Dust: Managing the Invisible Enemy
Every lens change is an opportunity for dust, sand, pollen, and moisture to reach your sensor. In a studio or clean indoor environment, this is a minor annoyance. On a dusty road in Morocco or a windy beach in Portugal, a single swap can deposit particles that show up as dark spots in every image shot above f/8 — exactly the apertures travel photographers use for deep depth of field in scenic shots.
Prevention is easier than removal. Power down the camera before removing a lens — the sensor's electrical charge attracts airborne particles when powered on. Point the body opening downward during the swap so gravity works in your favor. Have the replacement lens uncapped and ready before you remove the mounted lens, minimizing the exposure window to seconds rather than minutes.
Carry a rocket blower — not compressed air cans, which can deposit propellant residue. A few puffs with the sensor facing downward dislodge loose particles after a field swap. For stubborn spots, a sensor cleaning kit with swabs and solution weighs under 50g and fits in any bag pocket. Run the camera's built-in sensor cleaning vibration cycle at the start of each shooting day as a baseline.
The strongest dust prevention strategy is also the simplest: change lenses less often. The one-lens kit eliminates the problem entirely. The two-lens kit with planned transition points — swap once at sunset, swap back at sunrise — limits exposure to two windows per day. Three lenses and frequent swaps in dusty environments will require nightly sensor checks and periodic cleaning.
Insuring Your Travel Kit
Standard travel insurance policies cap electronics coverage at low thresholds — often in the $500-$1,000 range — and exclude "unattended" theft, which insurers define broadly enough to include a camera in a locked hotel room safe. A mid-range travel photography kit with body, two lenses, and accessories can easily reach the $3,000-$5,000 range. The gap between coverage and value is where financial pain lives.
Dedicated camera insurance fills this gap. Providers like TCP (formerly Hill & Usher), PhotoGuard, and some homeowner's insurance riders cover photography equipment worldwide against theft, accidental damage, and loss — including drops, submersion, and being left in a taxi. Annual premiums typically run 2-4% of insured value with low or zero deductibles.
Before any international trip, photograph every piece of gear with its serial number visible. Store the photos and purchase receipts in cloud storage you can access from your phone. If a claim becomes necessary, this documentation shortens the process from months to weeks. Some countries also require proof of ownership to bring professional camera equipment through customs — having receipts on your phone prevents confiscation delays at border crossings.
Putting It All Together: Kit Recommendations by Trip Type
The right kit depends on the destination, the shooting style, and the tolerance for weight. Here are the configurations we recommend for the most common travel scenarios.
General city travel (Europe, Japan, North America): One 24-105mm zoom covers everything. Architecture at the wide end, street details and food at the long end. Add a 35mm or 50mm prime if you plan evening shooting in restaurants or night markets. Total kit weight with body: 1.2-1.8 kg.
Scenery-heavy destinations (Iceland, Patagonia, New Zealand): A 24-105mm zoom plus an ultra-wide (14-24mm or 16mm prime). The ultra-wide handles dramatic foregrounds and vast skies that make these destinations iconic. A tripod becomes more justified here than in any city scenario — dawn and dusk light at high latitudes demands long exposures. Total kit weight with body: 1.8-2.5 kg.
Safari and wildlife travel (Kenya, Tanzania, Botswana): A 24-105mm zoom for camp life and wide scenic shots, plus a 100-400mm or 150-600mm telephoto for animal encounters. Weight discipline breaks down here — long telephoto zooms weigh 1.5-2 kg — but the alternative is cropping 105mm shots of animals that stay 50 meters away. Budget for the weight and leave the prime at home. Total kit weight with body: 2.5-3.5 kg.
Backpacking and ultralight travel: One prime lens — a 35mm f/2 or 28mm f/2.8 — and nothing else. Accept the fixed focal length as a creative constraint. Pancake primes weigh under 200g and add almost nothing to a pack. Pair with the smallest body in your system. Total kit weight: under 800g. APS-C shooters can also consider a single all-in-one zoom like the Nikon Z DX 18-140mm f/3.5-6.3 VR or the Tamron 18-300mm f/3.5-6.3 for Canon RF, both under 620g with enough range to skip a second lens entirely.
Documentary and editorial travel: Two bodies with two lenses — a wide zoom on one, a short telephoto or fast prime on the other. No lens swaps in the field. This is the professional configuration for photojournalists and assignment shooters who cannot miss a moment. It doubles the body weight but eliminates transition time and dust risk completely. Total kit weight: 3-4 kg.
Common Mistakes That Wreck Travel Photography Kits
Packing lenses you have never used. A trip is not the time to learn a new focal length. If you bought a 14mm ultra-wide last week, spend a weekend shooting with it at home before it goes in the travel bag. Unfamiliar lenses produce unfamiliar compositions, and the learning curve eats into limited shooting time.
Prioritizing coverage over quality. A superzoom (28-300mm, 24-240mm) covers everything on paper. In practice, these lenses exhibit visible softness, distortion, and chromatic aberration at the extremes of their range. Two excellent lenses outperform one mediocre lens that "does it all." The sharpness difference shows up immediately in prints above 8x10 and in any crop. Modern superzooms like the Tamron 28-200mm f/2.8-5.6 for Sony E and the Nikon Z 28-400mm f/4-8 VR narrow the quality gap considerably — read our reviews to see where each trades sharpness for convenience.
Ignoring the humidity transition. Moving from air-conditioned interiors to tropical heat causes condensation on cold lens elements — instant fog. Let equipment acclimate for 10-15 minutes in the bag before shooting. Some photographers carry silica gel packs in the camera compartment to absorb excess moisture during temperature swings.
Skipping the protective filter. A multi-coated UV filter costs $30-$70 and protects a front element that costs $200-$500 to replace. In travel conditions — sand, salt, fingerprints from crowds bumping your lens — the filter takes the abuse so the glass does not. Clean or replace the filter; never risk the element.
Checking camera gear in luggage. We said it already. Carry it on. There is no padded case, no TSA-approved lock, no fragile sticker that makes checked camera equipment safe. The only exception is an oversized telephoto that physically cannot fit in cabin luggage — and even then, a hard Pelican-style case with custom foam is the minimum requirement.
Travel Lens Questions Answered
These are the questions we hear most from photographers planning their first international trip with serious gear. If your question is not covered here, our lens selection guide covers general purchasing decisions in depth.
How many lenses should I bring when traveling?
Start with one wide-to-tele zoom — a 24-105mm or 24-70mm covers 90% of travel scenarios from wide architecture shots to tight portraits. Add a second lens only if you have a specific need: a fast prime for night markets and low light, or an ultra-wide for cathedral interiors. Three lenses is the practical ceiling for carry-on travel. Beyond that, the added weight and the time spent swapping lenses will cost you more shots than the extra focal lengths gain.
Do I need weather-sealed lenses for travel?
If you travel to tropical, coastal, or mountainous destinations, yes. Weather sealing adds gaskets at the mount, switches, and zoom ring that resist moisture, dust, and salt spray. A sudden rain shower at Machu Picchu or sea spray on a boat tour in Thailand will not wait for you to bag your gear. Sealed lenses paired with a sealed camera body give you confidence to keep shooting in conditions that would force unprotected setups into a dry bag.
Is a 24-70mm or 24-105mm better for travel?
The 24-105mm wins for most travelers. That extra reach from 70mm to 105mm matters more than you expect — street details, market vendors from a respectful distance, compressing distant scenes. The cost is that 24-105mm zooms are typically f/4 rather than f/2.8, so you lose one stop of light. If you shoot heavily in dim restaurants, temples, or at dusk without a tripod, the f/2.8 of a 24-70mm may justify the shorter range.
Should I insure my camera gear for international travel?
Yes, and standard travel insurance rarely covers photography equipment at full replacement value. Dedicated camera insurance from providers like TCP or Hill & Usher covers theft, accidental damage, and loss worldwide with no deductible on many plans. Document every serial number and keep purchase receipts in cloud storage before departure. The annual premium for a mid-range kit typically runs between 2-4% of the total gear value.
How do I prevent sensor dust when changing lenses outdoors?
Point the camera body downward during lens swaps so gravity pulls dust away from the sensor. Turn off the camera first — a powered sensor carries a static charge that attracts particles. Swap lenses in sheltered spots: inside a doorway, behind a wall, or inside a jacket tent. Keep rear lens caps clean and pre-loosen the incoming lens cap before removing the mounted lens. Carry a rocket blower for field cleaning, and run the camera's sensor-cleaning cycle at the start of each shooting day.
Will airline security damage my lenses?
X-ray machines at airport security do not harm lenses or camera bodies. The radiation levels used for carry-on screening affect film but have zero impact on glass, coatings, or electronic components. Always carry lenses in your hand luggage rather than checked bags — checked luggage scanners use higher-energy CT scans, and more importantly, baggage handlers are the real threat. A padded insert or lens pouch inside your carry-on bag is sufficient protection.
Can I travel with just a prime lens instead of a zoom?
A single 35mm or 50mm prime works well for travel photography that emphasizes storytelling over coverage. Primes force you to move and compose more deliberately, and their wide apertures handle low light and shallow depth of field far better than any zoom. The limitation is real, though: you cannot zoom with your feet when a balcony railing or a river separates you from the subject. Experienced travel photographers who shoot with one prime tend to accept the missed shots as the cost of a lighter bag and a more focused visual style.
Our Top Recommendation
Based on our research, the Canon RF 24-105mm f/4L is our top pick — professional all-purpose shooting, travel, and events.
Get Our Top 3 Picks
Get our top 3 picks for your budget — one email, then only updates.
Only when something changes. Unsubscribe anytime.