How to Choose a Camera Lens: A Practical Framework
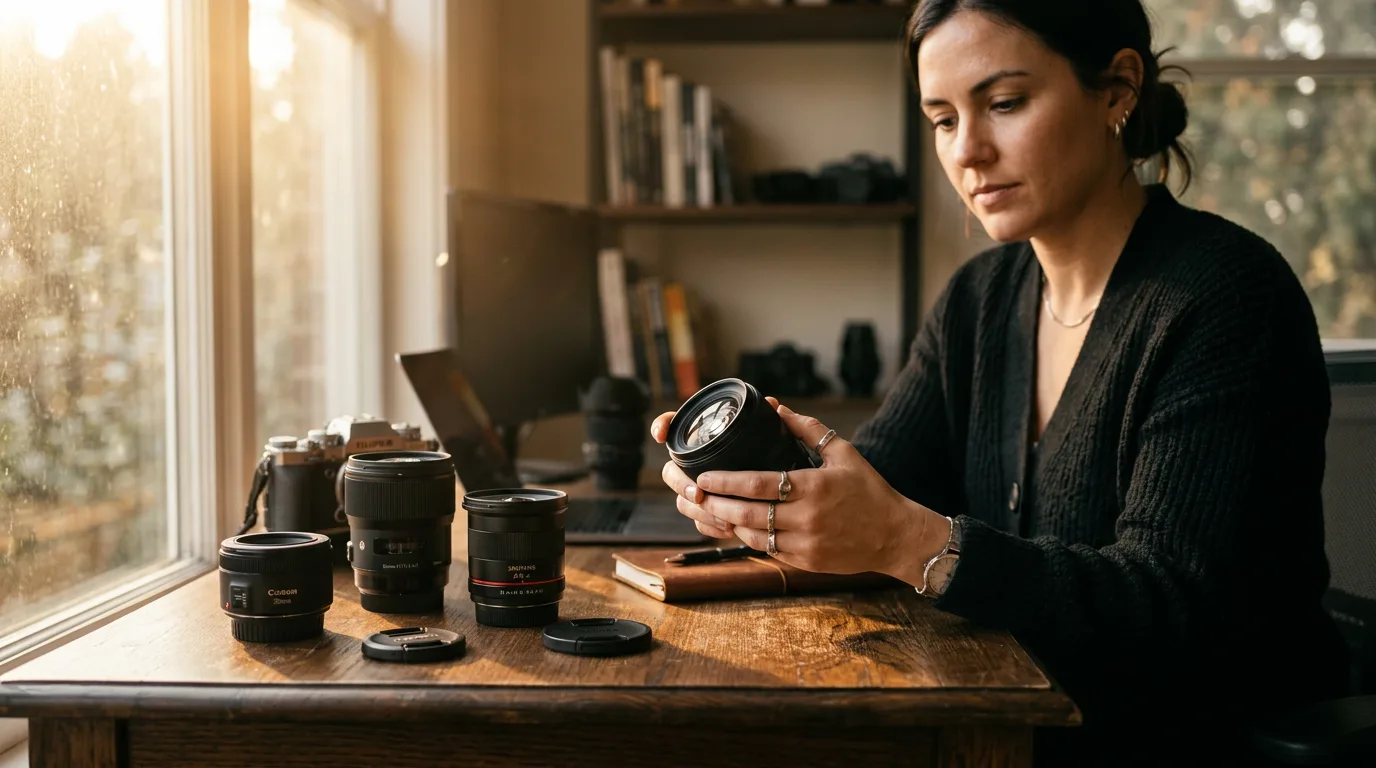
Buying a camera lens can feel like navigating a parts catalog written in a foreign language. Focal lengths, aperture values, mount types, stabilization acronyms — the spec sheets are dense, and the marketing adds more noise than clarity.
This guide strips away the jargon and gives you a framework for making the right decision. Not the most expensive lens, not the trendiest lens — the right lens for what you actually shoot, on the camera you actually own, within the budget you actually have.

Step 1: Know Your Mount
Before anything else, confirm your camera's lens mount. This determines which lenses physically fit your body and communicate with its autofocus and stabilization systems.
- Canon mirrorless: RF mount. Also accepts EF/EF-S lenses with the EF-EOS R adapter.
- Nikon mirrorless: Z mount. Also accepts F-mount AF-S lenses with the FTZ/FTZ II adapter.
- Sony mirrorless: E mount. Accepts A-mount lenses with LA-EA adapters. Largest third-party ecosystem.
- Micro Four Thirds (Panasonic/OM System): MFT mount. Lenses from either manufacturer work on both brands' bodies.
Third-party manufacturers — Tamron, Sigma, Viltrox, Samyang — make lenses in multiple mounts. The same optical design ships in Canon RF, Nikon Z, and Sony E versions. Make sure you order the correct mount version; they're not interchangeable.
Step 2: Match Focal Length to What You Shoot
Focal length determines your field of view — how much of the scene the lens captures. Shorter focal lengths capture wider views. Longer focal lengths magnify distant subjects.
Here's a practical mapping of focal lengths to common subjects:
- 14-24mm (ultra-wide): Architecture, real estate interiors, astrophotography, dramatic environmental portraits. Everything looks further away; use when you want to capture an entire scene.
- 24-35mm (wide): Street photography, travel, environmental portraits, vlogging. The most natural perspective for "being there" storytelling.
- 35-85mm (standard): Portraits, events, product photography, everyday documentation. The 50mm focal length matches roughly what your eye sees. An 85mm is the classic portrait focal length — flattering perspective, enough distance for comfort.
- 85-200mm (short telephoto): Headshots, sports from moderate distance, compressed backgrounds, candid shots without intruding. The 70-200mm zoom is the workhorse of professional event photography.
- 200-600mm (telephoto): Wildlife, airshows, distant sports (football sidelines, baseball from the stands). You need this range when you can't physically get closer to your subject.
If you're unsure what focal length you need, check your existing photos. Your phone or camera records focal length in EXIF data. In Lightroom, filter by focal length — you'll quickly see whether you gravitate toward wide or tight compositions. That pattern tells you where to invest.
Step 3: Decide on Aperture
Aperture (the f-number) controls two things: how much light enters the lens and how shallow the depth of field can be. Lower f-numbers mean more light and thinner focus planes. Higher f-numbers mean less light but more of the scene in focus.
f/1.2 – f/1.8 (fast primes): Best for low light and extreme background blur. Portrait photographers, event shooters working in dim venues, and anyone wanting that creamy bokeh effect — our portrait lens guide covers which focal length flatters most. These are prime lenses (fixed focal length) — you zoom with your feet.
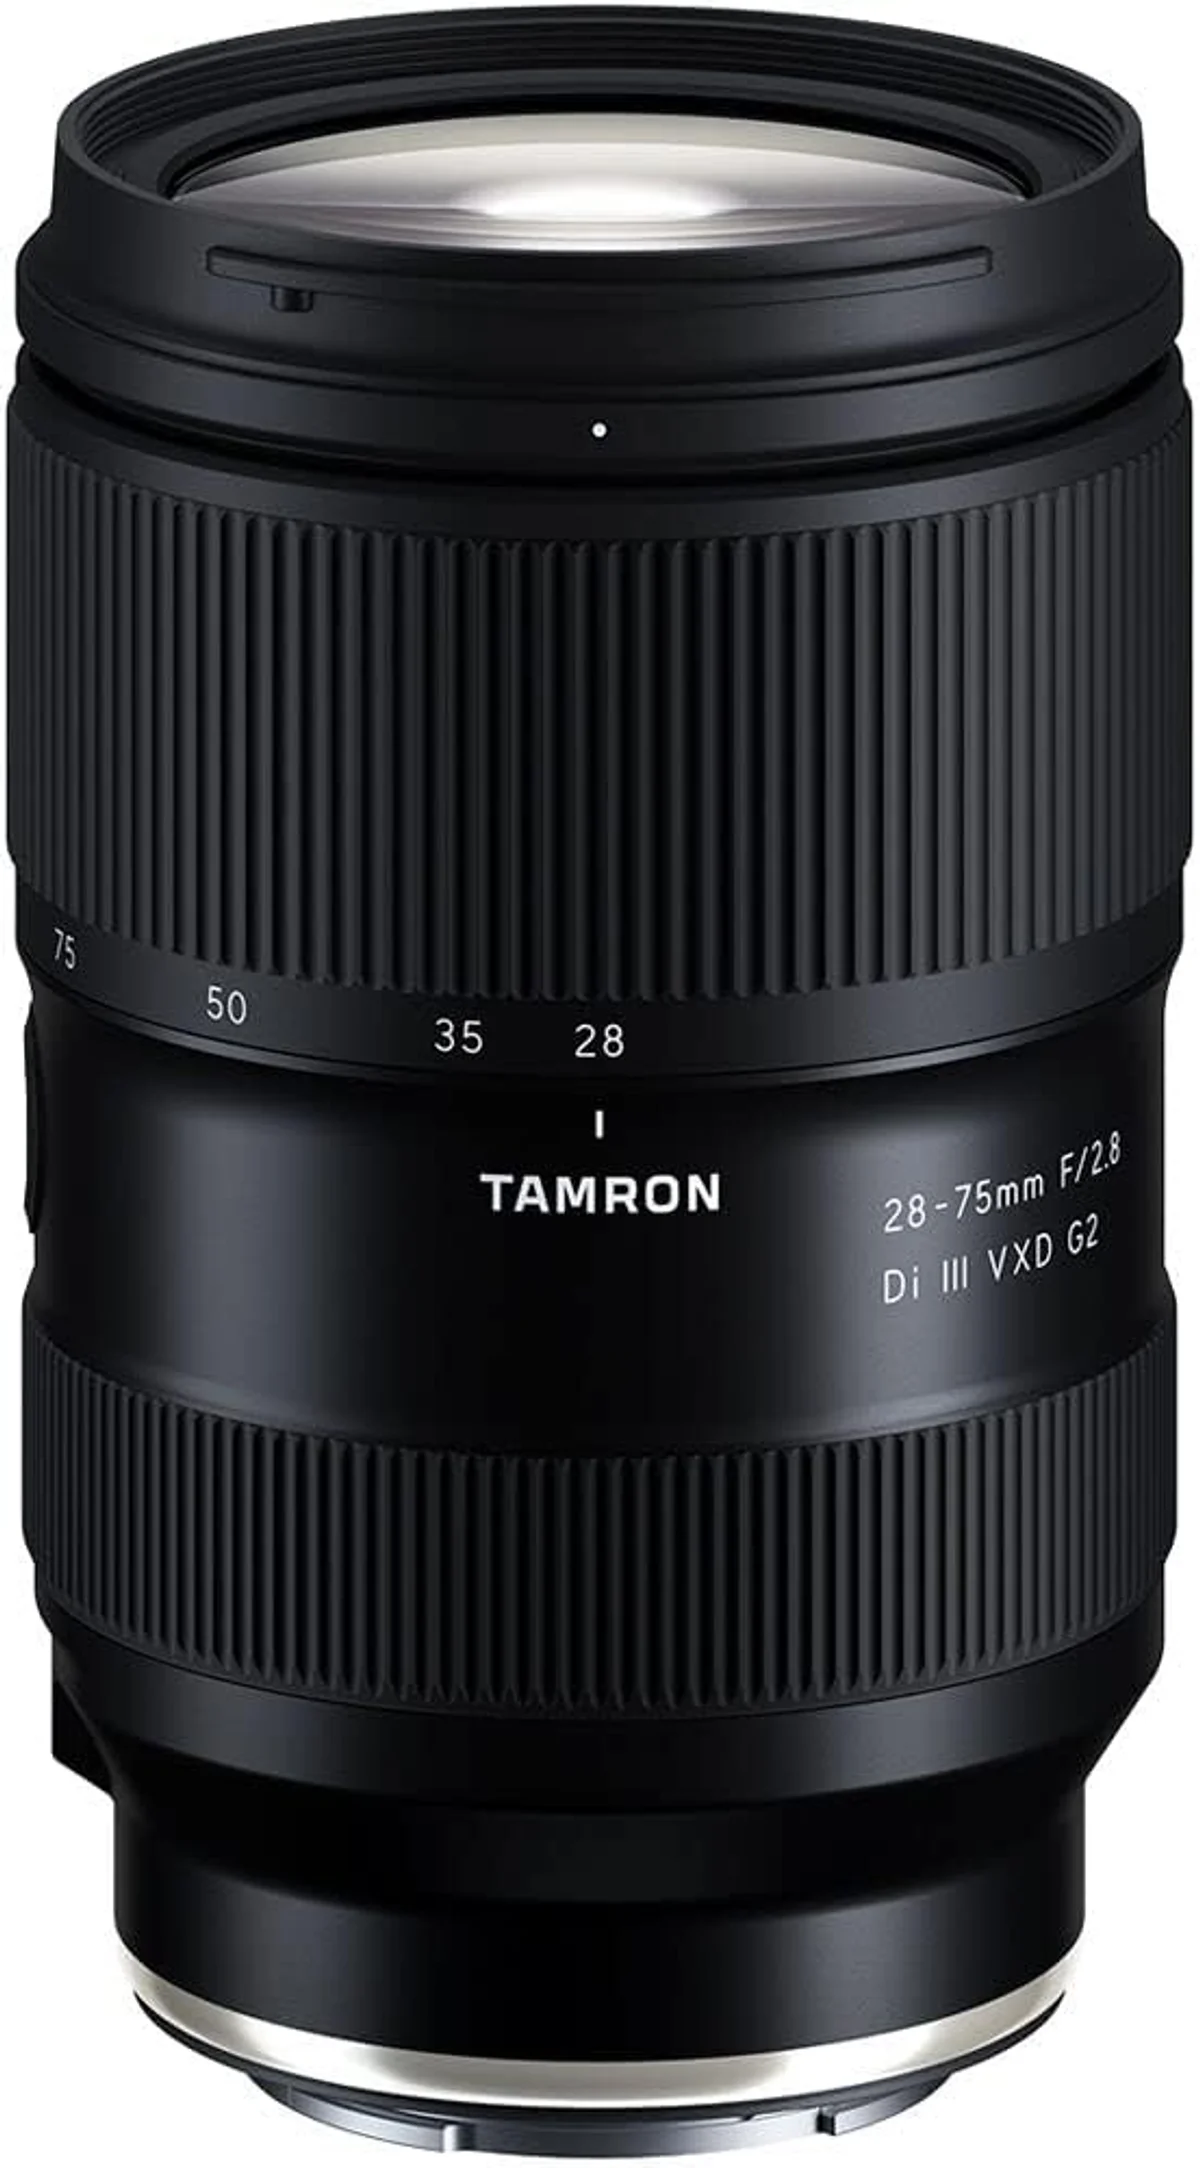
f/2.8 (fast zooms): The standard for professional zoom lenses. Good low-light performance with the flexibility of a zoom range. A 24-70mm f/2.8 or 70-200mm f/2.8 is the core of most professional kits. Expect to pay a premium for constant f/2.8 across the zoom range.
f/4 (mid-range): One stop less light than f/2.8, but typically much lighter, smaller, and more affordable. If you shoot primarily in good light (outdoor sports, travel, daytime events), an f/4 zoom gives 90% of the performance at 50-60% of the weight and cost.
f/5.6 – f/6.3 (variable aperture zooms): Budget and supertelephoto territory. These lenses trade light-gathering ability for reach and affordability. A 150-600mm f/5-6.3 gets you to 600mm for under $1,500 — our telephoto buying guide covers this category in depth. Perfectly capable in daylight; limits emerge in overcast or indoor conditions.
Step 4: Prime vs Zoom
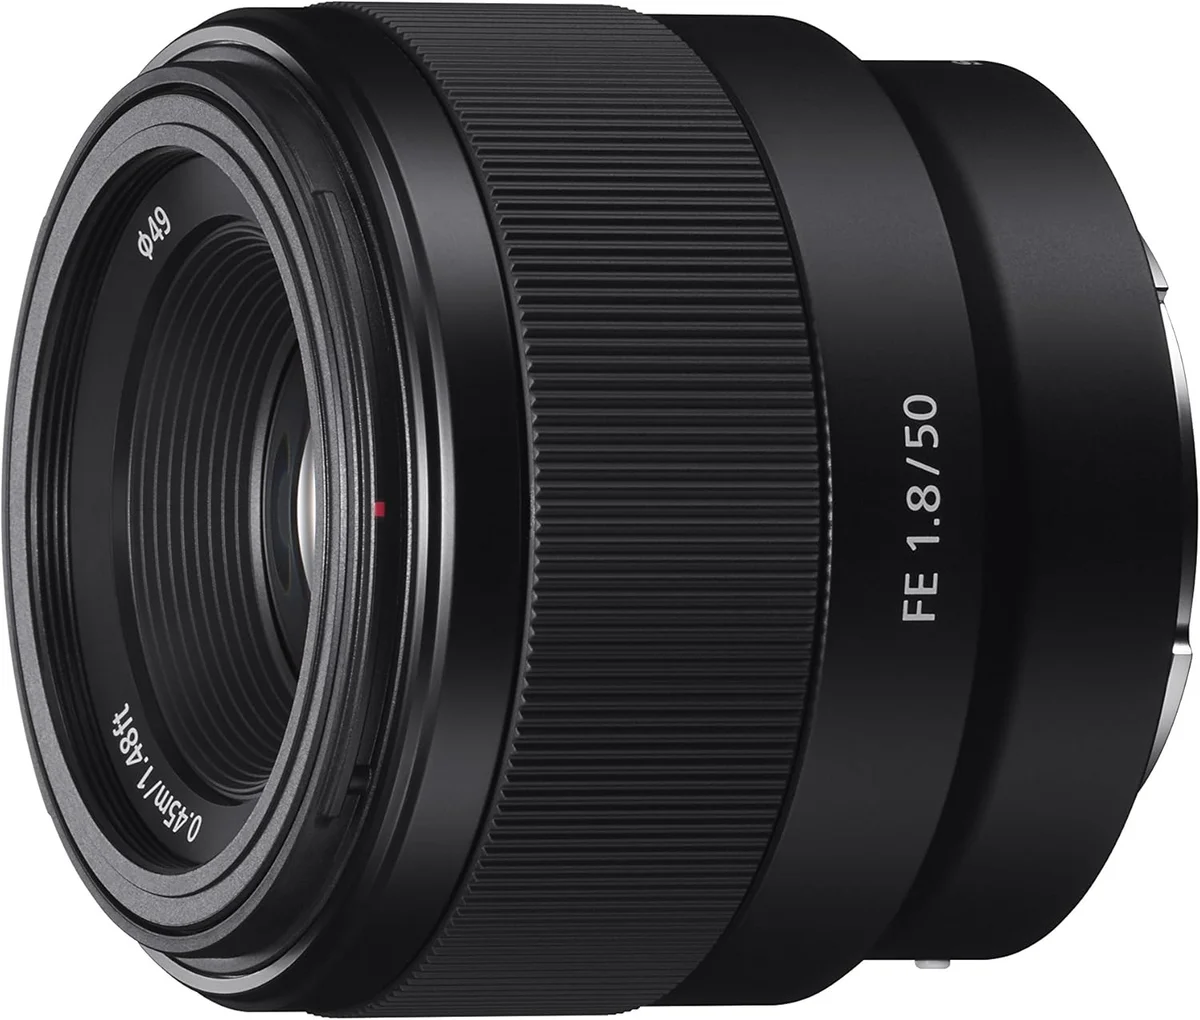
Primes: one focal length, typically sharper wide open, lighter, faster aperture for the price. A 50mm f/1.8 prime costs $150-250 and outperforms any zoom at that focal length in low light. The constraint — having to move your position to frame the shot — forces better composition habits.
Zooms: variable focal length, broader framing options, fewer lens changes. A 24-70mm f/2.8 replaces three or four primes for general work. The downside: wider maximum apertures cost more in a zoom design, and zoom lenses are typically larger and heavier than equivalent primes.
The practical split for most photographers: one general-purpose zoom for daily use, one or two primes for specific situations (low light, portraits, creative work). A kit like "24-70mm zoom + 85mm f/1.8 prime" covers 90% of shooting scenarios for a working photographer.
Step 5: Consider Size and Weight
The best lens is the one you carry. A technically superior 70-200mm f/2.8 weighing 1.5kg stays in the bag more often than a 70-200mm f/4 weighing 800g. If you're a travel photographer, hiker, or street shooter, weight affects how much you actually use the lens.
Compare lenses you're considering by weight, not just focal length and aperture. Filter size matters too — matching filter sizes across your lenses lets you share one set of ND and polarizer filters, saving money and bag space.
Front-heavy telephoto lenses change how a camera balances in your hand. If you're shooting handheld for extended periods (events, travel, street), try the lens before buying — either rent it or handle one at a camera store. Online specs can't convey how a lens feels during a four-hour shoot.
Step 6: Set a Realistic Budget
Lens prices span an enormous range. Here's what each tier generally delivers:
- Under $300: Excellent 50mm primes, basic kit zooms, budget third-party options. Sharp enough for web and social media; may show weaknesses in large prints. Build quality is functional rather than premium.
- $300–$800: Quality third-party zooms (Tamron, Sigma), mid-range native primes, decent telephoto options. This range offers the best value per dollar for most photographers. Optical quality is genuinely good.
- $800–$1,500: Professional-grade zooms, fast native primes, quality telephoto lenses. Weather sealing, faster AF motors, and better optical correction justify the step up for frequent shooters.
- $1,500–$3,000: Premium glass — L-series, S-line, G Master. Best available optics, build quality, and autofocus. For professionals and serious enthusiasts who have outgrown mid-range options.
- $3,000+: Super-telephoto primes, top-tier cinema glass, specialty lenses (tilt-shift, extreme wide). Justified only for specific professional needs or dedicated hobbyists who have already invested in bodies and technique.
One principle that consistently proves true: invest in glass before bodies. Camera bodies depreciate and get replaced every 3-5 years. Quality lenses hold their value and remain relevant for a decade or longer. A $1,200 lens on a $1,500 body will produce better images than a $500 lens on a $2,200 body — and the lens will still be serving you when you upgrade the body.
Step 7: Research Before You Buy
Before committing to a lens purchase, cross-reference at least three sources:
- User reviews on Amazon. Read the 3-star reviews — they're typically the most balanced. Look for patterns across multiple reviewers. One person's complaint is an anecdote; twenty people mentioning the same issue is data.
- Expert reviews from testing labs. Sites like DPReview (archived), LensRentals Blog, and Photography Life test with standardized methods. Their MTF data and sample images show real optical performance.
- Comparison content. Head-to-head comparisons between the lens you're considering and its direct competitors reveal strengths and weaknesses that isolated reviews miss. Our comparison pages are built specifically for this purpose.
Renting before buying is worth the $30-50 cost for any lens over $500. A weekend with the lens tells you more than a month of reading reviews. LensRentals, BorrowLenses, and local camera shops offer rental programs that can save you from expensive mistakes.
Step 8: Evaluate Autofocus for Your Needs
Autofocus performance varies by lens motor type, and the differences matter for action shooting. Modern lenses use one of several AF motor designs:
- Linear motors (STM, stepping motor): Quiet and smooth, ideal for video. Canon's Nano USM and Sony's XD Linear Motor are the fastest variants. Adequate for everyday stills, but may not track erratic subjects like birds in flight.
- Voice-coil / VXD motors: Tamron's VXD and similar designs offer fast acquisition with near-silent operation. Excellent balance of speed and video friendliness. Found in most current third-party lenses.
- Ring-type ultrasonic (USM, SWM, SSM): Fast and powerful, best for large/heavy focus groups. Common in professional telephoto lenses. Louder than linear motors, which can be picked up by on-camera microphones during video.
For wildlife, sports, and active children, prioritize lenses with the fastest AF motors available for your system. For portraits, products, and staged events, any modern AF system is sufficient. For video, quiet operation matters more than raw speed — listen to focus motor noise samples in video reviews before buying.
One often-overlooked factor: AF accuracy at wide apertures. An f/1.4 lens with mediocre AF precision puts the focus plane in the wrong spot — and at f/1.4, "wrong spot" means blurry eyes in a portrait. Premium lenses typically deliver better AF consistency at wide apertures than budget options. This is one area where reading user reviews about "focus accuracy" or "AF reliability" reveals real-world differences that lab tests don't always capture.
When to Buy Used or Refurbished
Camera lenses are mechanical precision instruments, but they're also remarkably durable. A well-cared-for used lens performs identically to a new one — there's no sensor degradation, no battery wear, no shutter count equivalent for a lens.
The best places to buy used: KEH.com (largest used camera retailer, rigorous grading), MPB (buy/sell/trade with transparent condition ratings), and Amazon Renewed (manufacturer-inspected refurbished items with return policies). Local camera shops with used departments let you inspect lenses in person.
What to check when buying used: smooth focus ring operation (no grinding or stiffness), clean glass (no haze, fungus, or deep scratches on front/rear elements), functional autofocus (test on a body before finalizing), and intact weather sealing gaskets (if applicable). Minor dust inside the lens barrel is normal and doesn't affect image quality — only visible contamination on elements matters.
The savings are real. A Canon RF 70-200mm f/2.8L IS USM retails for $2,799 new. The same lens in "Excellent" used condition typically runs $2,100-$2,300 — enough savings to fund a fast prime or a set of quality filters. For discontinued models (like many Canon EF L-series lenses), used is the only option and prices have actually stabilized rather than decreased, reflecting the lasting quality of well-built glass.
Common First-Lens Mistakes
Buying based on reach alone. A 150-600mm zoom is exciting, but if you primarily shoot portraits and events, it'll collect dust. Buy for your current needs first, then add specialist lenses as those needs develop.
Ignoring used and refurbished options. Camera lenses are durable goods. A well-maintained used lens performs identically to a new one. Canon, Nikon, and reputable dealers like KEH and MPB grade and warranty used lenses. The savings — often 25-40% off retail — can fund an additional lens or accessory.
Chasing the fastest aperture. An f/1.2 prime sounds impressive, but most portrait work happens at f/2 to f/2.8 for practical depth of field. If you don't specifically need f/1.2 (low-light events, razor-thin focus for creative effect), an f/1.4 or f/1.8 at half the price delivers nearly identical results for most situations.
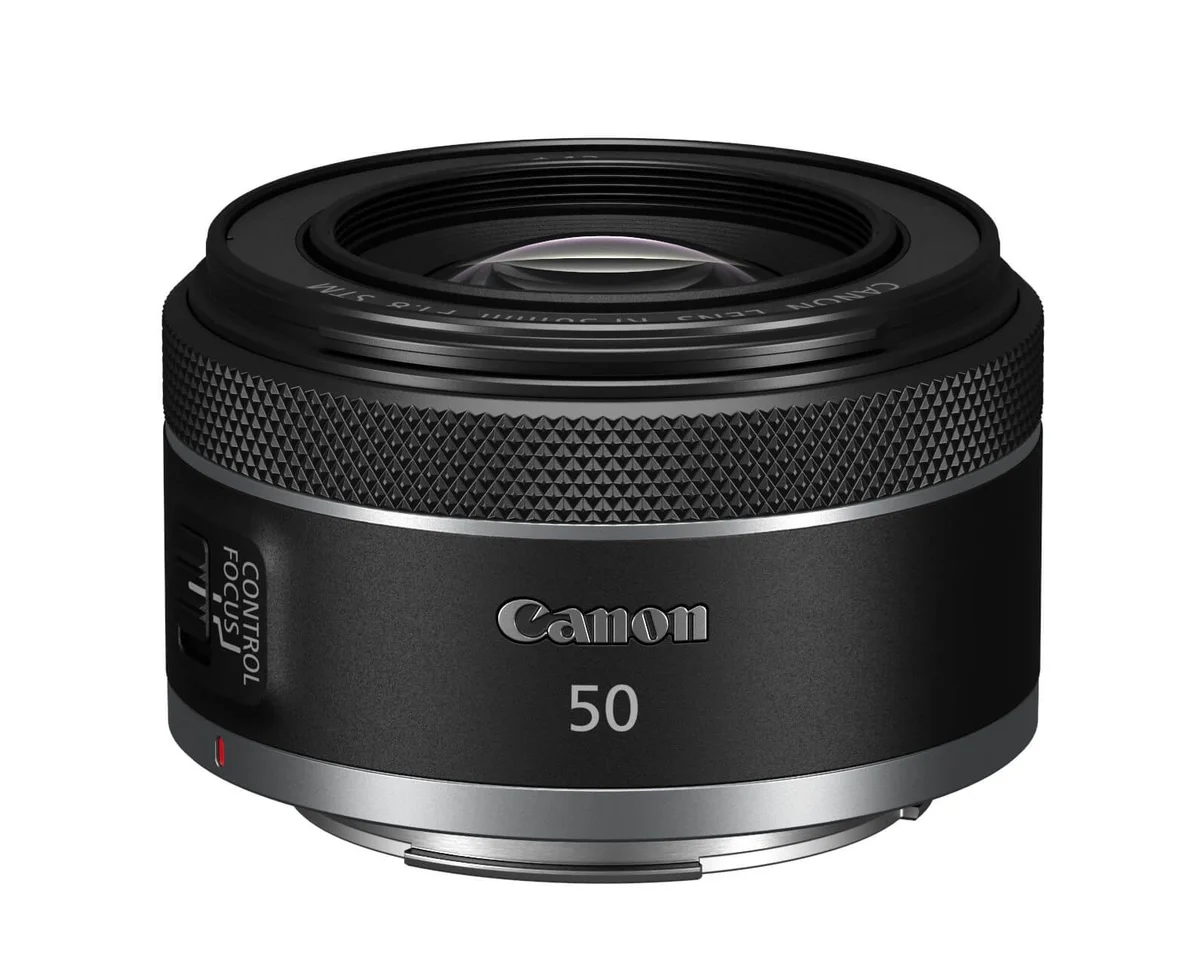
Skipping the 50mm prime. It's the most recommended first upgrade for a reason — the Canon RF vs EF 50mm comparison shows exactly why Canon's nifty fifty remains the entry point. Every mount system offers one for under $250. It teaches you to see in a single focal length, shoots in light too dim for your kit zoom, and produces background blur your zoom can't match. If you've never owned a fast prime, start here — it costs less than a nice dinner out and opens up an entirely different category of photography.
Overthinking compatibility with future bodies. Buy lenses that work with your current camera. Mount systems last a long time — Canon RF, Nikon Z, and Sony E will be the standard for years. Your native mirrorless lenses will work on the next body you buy. Don't delay a purchase waiting for a rumored body release or hypothetical mount change.
Lens Buying Questions
Answers to the questions we hear most from photographers choosing their next lens.
Should I buy a prime or a zoom lens first?
For flexibility, start with a zoom. A 24-70mm or 24-105mm covers everyday shooting without lens swaps. For low light and creative depth of field, a 50mm f/1.8 prime is the classic second lens — every system offers one for under $250, and the jump in low-light capability and background blur is immediate.
Does a more expensive lens make my photos better?
Expensive lenses offer wider apertures, faster autofocus, better build quality, and improved optical correction. But the biggest jumps in image quality come from understanding light, composition, and your subject. A $200 prime in the hands of a skilled photographer outperforms a $2,000 zoom used carelessly. Invest in glass when your technique hits the limits of your current equipment.
How important is weather sealing in a lens?
For outdoor shooters, very. Weather-sealed lenses have gaskets at the mount, switches, and focus ring to resist moisture and dust. This doesn't make them waterproof — it means they tolerate light rain, morning dew, and dusty conditions. If you shoot exclusively indoors or in mild weather, it's a nice-to-have, not a requirement.
Can I use my old DSLR lenses on a new mirrorless camera?
Almost always yes, with the right adapter. Canon EF lenses work on RF bodies via the EF-EOS R adapter. Nikon F-mount AF-S lenses work on Z bodies via the FTZ adapter. Sony A-mount works on E-mount via LA-EA adapters. Autofocus and stabilization typically function normally. See our lens mount compatibility guide for specifics.
Is image stabilization in the lens or camera body more important?
For wide to standard focal lengths, in-body stabilization (IBIS) is sufficient and works with any lens. For telephoto lenses above 200mm, lens-based stabilization adds measurable benefit because IBIS alone can't make large enough corrections. For bodies with both, they work together — the combined result is better than either alone.
How do I know when it's time to upgrade my kit lens?
Three reliable signals: you consistently shoot at the lens's maximum aperture and wish it were wider, you notice softness in prints larger than 11x14, or autofocus misses shots you'd otherwise nail. If none of these apply, your kit lens may be serving you better than you think — and the upgrade money might be better spent on lighting or a tripod.
Our Top Recommendation
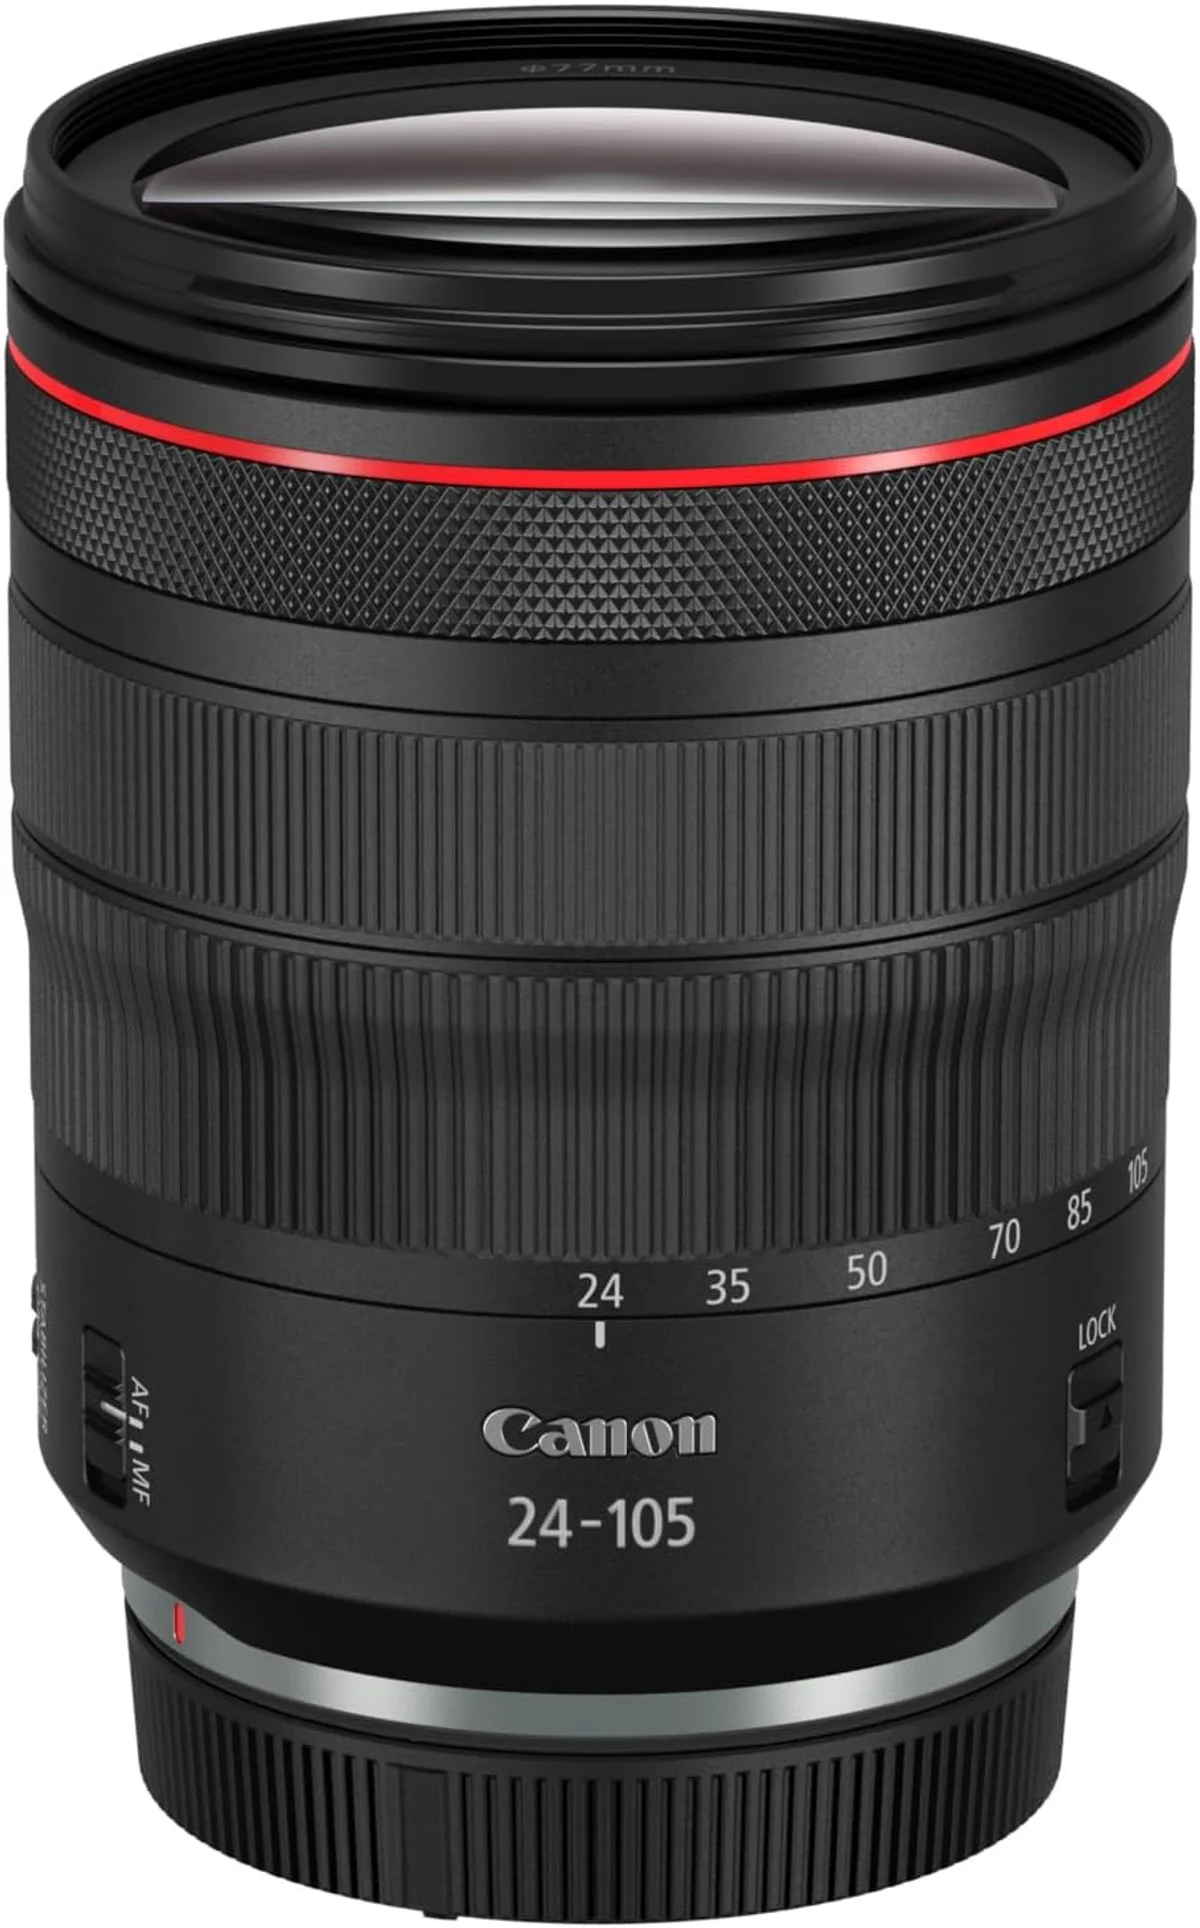
Based on our research, the Canon RF 24-105mm f/4L is our top pick — professional all-purpose shooting, travel, and events.
Get Our Top 3 Picks
Get our top 3 picks for your budget — one email, then only updates.
Only when something changes. Unsubscribe anytime.